Skeletal Animations
The skeleton modules provides a way to have 2d skeletal animations in your cocos applications. The process of may be a bit complicated to setup, but using them afterwards is easy, and there are some tools to simplify the process.
To do skeletal animations in cocos you will have to:
Create a skeleton
Create one or many skins
Create all the animations you want
Then, to use them you will have to:
Load the skeleton
Load the skin
Add a Skin cocos node to your scene
Load the animations
Use the Anim action on the skin node to play animations.
Creating Skeletons and skins
The skeleton file
Skeletons are defined in .py files. The first thing you will do is create the root bone for your skeleton. Here we create what is going to be the body of our human skeleton as follows:
doc/programming_guide/skeleton/root_bone.py:
from cocos.skeleton import Bone, Skeleton

root_bone = Bone('body', 70, -180.0, (0.00, 0.00))

skeleton = Skeleton(root_bone)
This reads like: Create a bone labeled ‘body’ that is 70 pixels long, is rotated by -180 degrees and starts on (0,0). We rotate the bone because we want to be able to move its shoulders and not its legs, so the fixed part of the skeleton will be its waist, ie, the origin of the root bone.
You can see the skeleton you have created using with a small piece of code.
from doc/programming_guide/skeleton/show_root_bone.py:
from cocos import skeleton

# import the skeleton we have created
import root_bone

class TestLayer(cocos.layer.Layer):
    def __init__(self):
        super( TestLayer, self ).__init__()

        x,y = director.get_window_size()

        # create a ColorSkin for our skeleton
        self.skin = skeleton.ColorSkin(root_bone.skeleton, (255,0,0,255))

        # add the skin to the scene
        self.add( self.skin )
        x, y = director.get_window_size()
        self.skin.position = x/2, y/2
It will look like this:
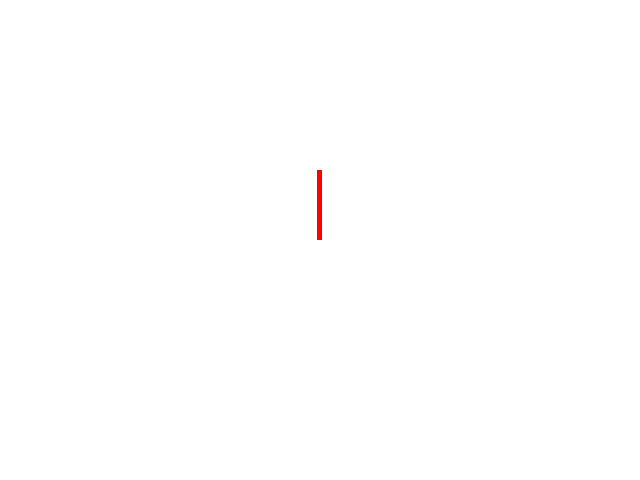
The important new concept here is the skin. Skins are responsible for drawing the skeletons. Here we use the basic skin, ColorSkin, that just draws a colored line over the bone. A skin, like everything else, is just a cocosnode, so you can add it to your node to place it on screen.
The skin file
Now, we want to skin this skeleton with some images, so we create a skin file. The skin file will look like this:
doc/programming_guide/skeleton/root_skin.py:
skin = [
    ('body', (25, 91), 'gil-cuerpo.png', True, True, 0.5),
  ]
This reads like: This skin ha an image for the bone labeled ‘body’, this image has an offset of (25, 91) from the bone origin, the image file is ‘gil-cuerpo.png’ (provided by cocos), its flipped on its x axis, its flipped on its y axis (remember we rotated the bone by -180), and its scaled to half its size.
Now we can show the skeleton with the skin we have just created.
from doc/programming_guide/skeleton/show_root_skin.py:
# import the skeleton we have created
import root_bone
import root_skin

class TestLayer(cocos.layer.Layer):
    def __init__(self):
        super( TestLayer, self ).__init__()

        x,y = director.get_window_size()

        # create a ColorSkin for our skeleton
        self.skin = skeleton.BitmapSkin(root_bone.skeleton, root_skin.skin)

        # add the skin to the scene
        self.add( self.skin )
        x, y = director.get_window_size()
        self.skin.position = x/2, y/2
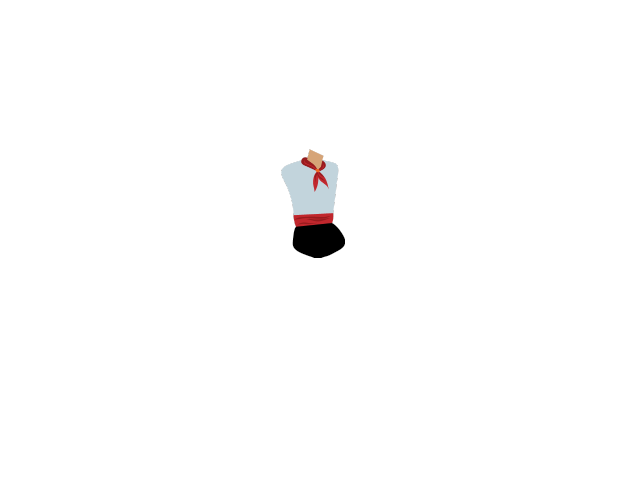
It will look like this:
The skeleton editor
At this point, we can use the first tool provided, the skeleton editor. You start the editor like this:
tools$ python skeleton/skeleton_editor.py ../doc/programming_guide/skeleton/root_bone.py ../doc/programming_guide/skeleton/root_skin.py
It will look like this:
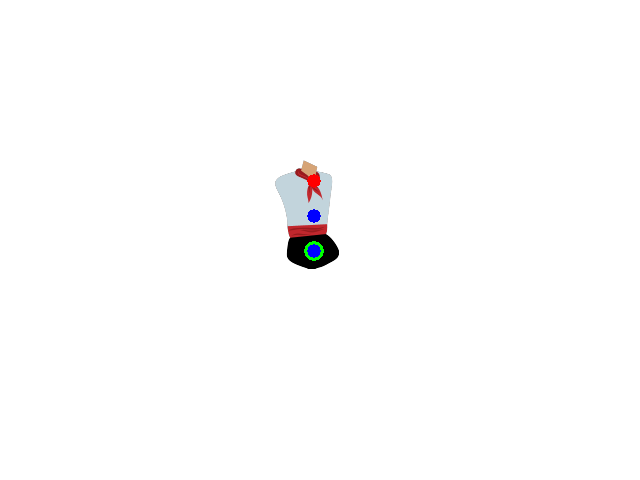
There you can see the skin part of your skeleton and several control points. Control points can be dragged. If a control point is on top of another control point, you can change your selection using the scroll weel. The current control point has a small halo.
In this example you can see the red control point, which controls the rotation of the bone, the two blue control points, which control the position of the bone and skin part, and the green control point (behind one of the blue ones) which controls the skeleton position.
Pressing ‘s’ will save the changes you have made to the skeleton and skin file. This will overwrite the .py files, so b carefull to just pur the data of the skeleton and skin in this files.
This is a helpfull tool in creating your skins, as the only way to know the real offsets between your skeleton parts and the image the artist has creates is visually.
Now we add more bones and skin parts to the skeleton. Bones, other than the root bone, are attached to other bones and thei position and rotation are relative to its parent bone position and rotation.
doc/programming_guide/skeleton/body_and_arm.py:
from cocos.skeleton import Bone, Skeleton

def Point2(*args): return args

root_bone = Bone('body', 70, -180.0, Point2(0, 0)).add(
    Bone('upper_arm', 30, 120, (0, -70)).add(
        Bone('lower_arm', 30, 30, (0, -30))
    )
)

skeleton = Skeleton(root_bone)
Here we abuse the fact that the function ‘add’ returns the parent bone, so you can chain call to add and have and indentation that resembles the hierarchical structure of the skeleton.
The upper arm is 30 pixels long and is placed at the end of the body by offsetting if -70 pixels. The lower arm is also 30 pixels long and is also placed at the end of its parent, the upper arm. Bone length doesnt affect the transofrmations or placement of other bones, but it useful to see what you are creating.
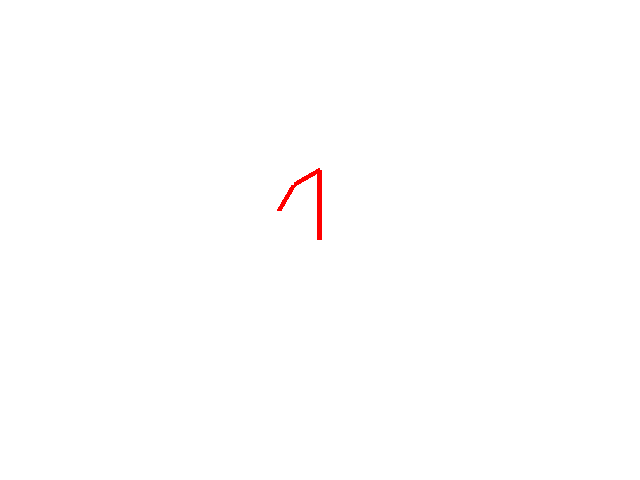
The skeleton we have just created looks like this:
Now we add the skin. We wont care about the positions or flipping, as we will be changing that parameters when looking at it.
doc/programming_guide/skeleton/body_and_arm_skin.py:
skin = [
    ('body', (25, 91), 'gil-cuerpo.png', True, True, 0.5),
    ('lower_arm', (0, 0), 'gil-mano2.png', False, False, 0.5),
    ('upper_arm', (0, 0), 'gil-brazo1.png', False, False, 0.5),
  ]
The mess we have just created will look like this:
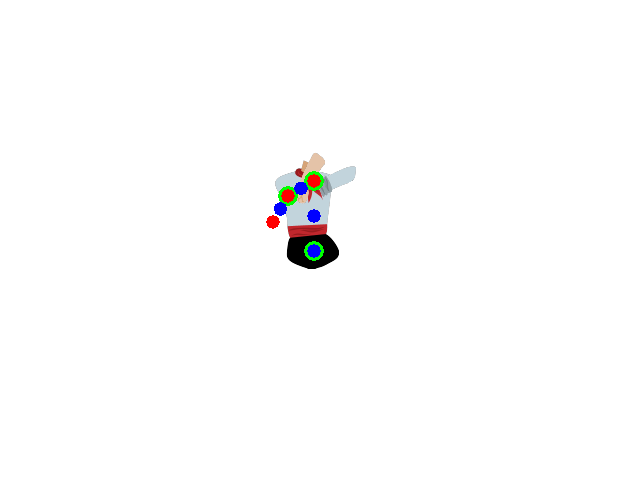
We now have to use the editor to drag the parts until it looks like this:
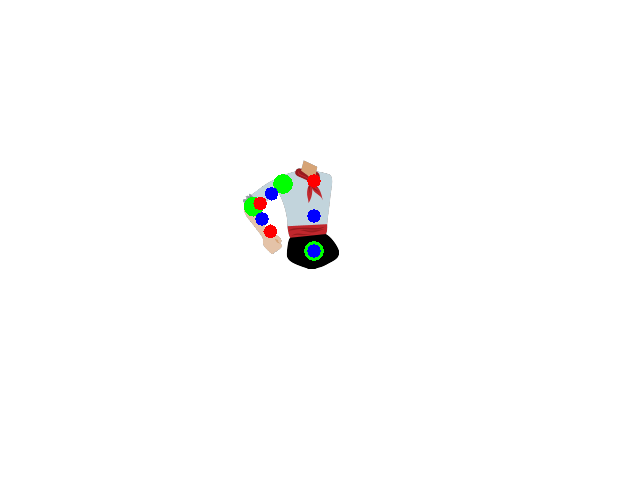
NOTE: When moving the control points, things look weird. Its because you are actually only aplying a translation to the point. But the translation is then aplied over the transformed point. It looks crazy, but you can get used to it if you play with it for a while. And if you dont, you can just submit a patch.
It is important to move the bones, not just the skin, so the shoulder and elbow move at the right locations. You can test that rotating the bones and making sure that the images look good in all positions.
You then press the ‘s’ key to save.
You should continue this way until you have the full skeleton and skin defined.
You can see and use the sample skeleton and skin provided in the test directory:
tools$ python view_skeleton.py ../test/sample_skeleton.py

tools/skeleton$ python skeleton_editor.py ../../test/sample_skeleton.py ../../test/sample_skin.py
Animations
Now that you have your skeletons, its time to animate them. An animation has a list of keyframes, ie, skeleton poses and times. When you play an animation, cocos will pose your skeleton according to the current time, interpolating between the previous and next frame.
The animator editor
Start the animation editor doing:
tools/skeleton$ python animator.py ../../test/sample_skeleton.py --skin ../../test/sample_skin.py ../../test/SAMPLE.anim
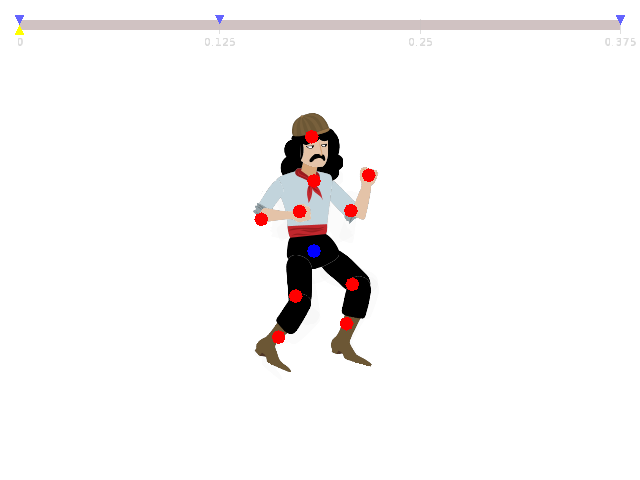
On the top you can see the timeline with the keyframes in blue and the current position marked in yellow.
You can also see the first keyframe, with its skin and control points.
You can control the animator with the following keys:
S: Save the current animator
LEFT: move $TICK_DELTA time to the left
RIGHT: move $TICK_DELTA time to the right
PLUS: add a keyframe in the current position
MINUS: remove the keyframe in the current position
PAGE UP: Move to the previous keyframe
PAGE DOWN: Move to the next keyframe
INSERT: insert $TICK_DELTA time at the current position
DELETE: delete $TICK_DELTA time at the current position
HOME: Go to the start of the animation
END: Go to the end of the animation
SPACE: Play the animation
When standing on a keyframe you will see some control points, that you can move to edit the keyframe.
$TICK_DELTA is 1/16 of a second.
Playing animations
You can play an animation on a skin doing:
from test/test_skeleton_anim.py:
class TestLayer(cocos.layer.Layer):
    def __init__(self):
        super( TestLayer, self ).__init__()

        x,y = director.get_window_size()
        self.skin = skeleton.BitmapSkin(sample_skeleton.skeleton, sample_skin.skin)
        self.add( self.skin )
        x, y = director.get_window_size()
        self.skin.position = x/2, y/2
        anim = cPickle.load(open("SAMPLE.anim"))
        self.skin.do( cocos.actions.Repeat( skeleton.Animate(anim) ) )
The Animate action has the following parameters: recenter, recenter_x, recenter_y. This control how the skeleton position is moved. If you run two walk left animations without translation you will see a player move left, go to the origin and move left again. if you use translation, the player will just move left twicenas far.
Also, animations can be flipped, which makes the character look to the other side.